Skip to main content
Login
Resident
Login Opens in a new tab
Applicant
Login Opens in a new tab
Phone Number
+1 518-900-7826
Home
Amenities
Floor Plans
Photos
Map
eBrochure
Contact Us
Make A Payment
opens in a new tab
Home
Amenities
Floor Plans
Photos
Map
eBrochure
Contact Us
Make A Payment
opens in a new tab
Resident Portal
Opens in a new tab
Apply Now
Opens in a new tab
Phone Number
+1 518-900-7826
Experience the Difference
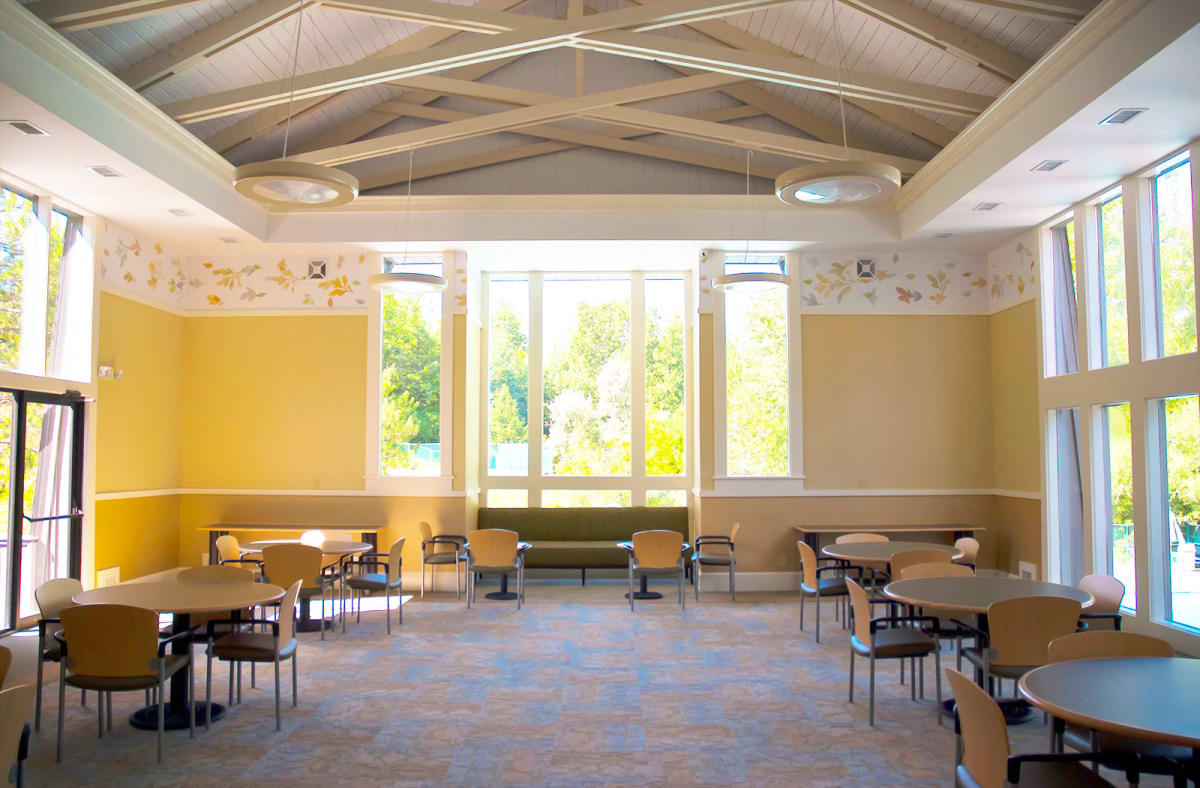
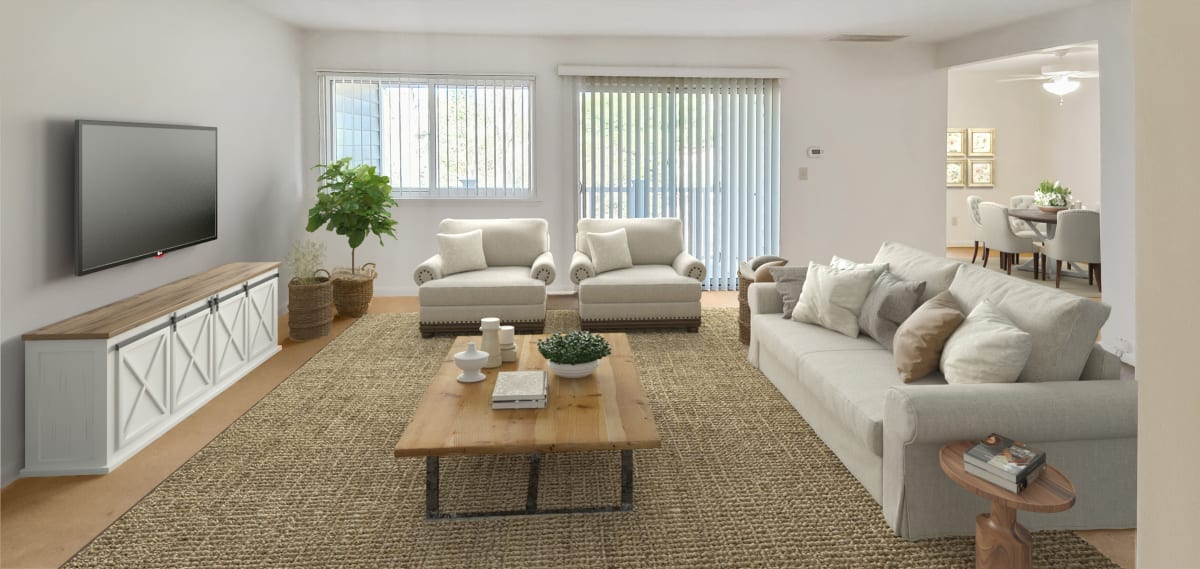
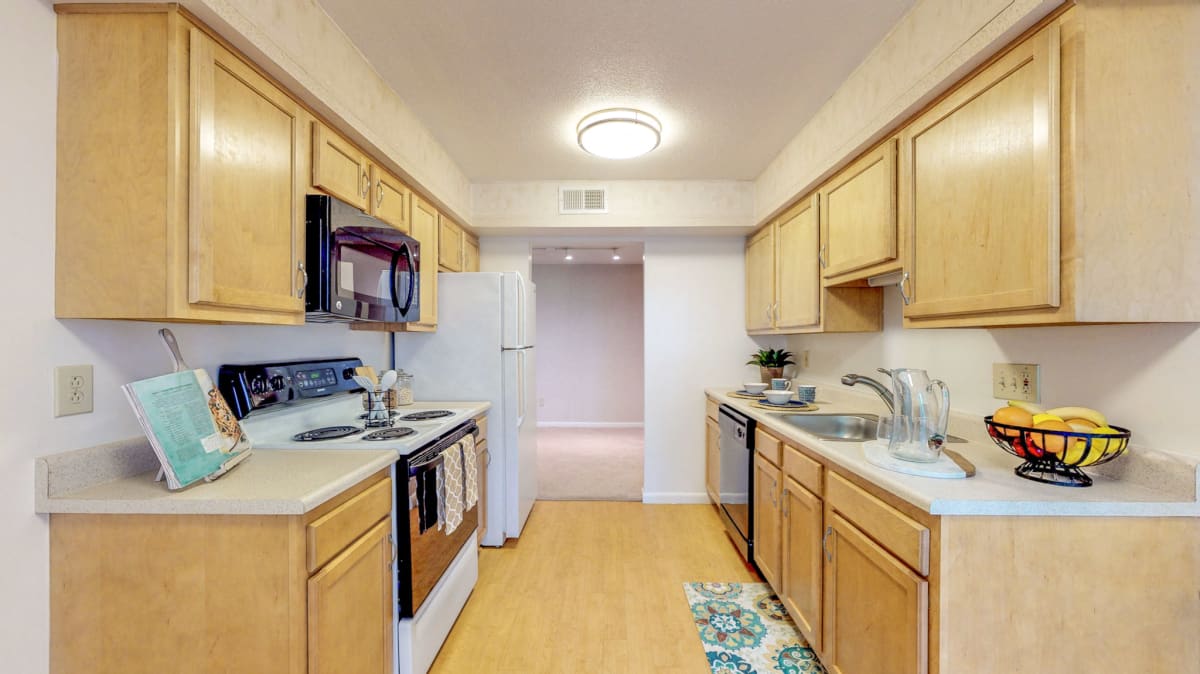
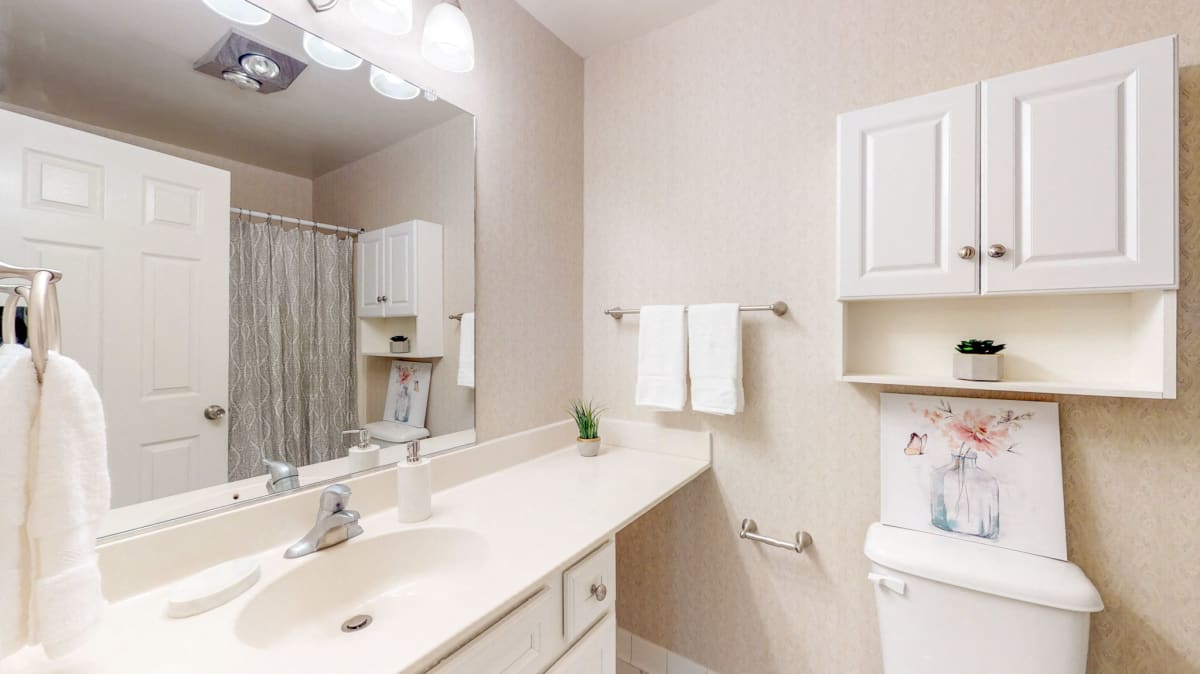
Photo Gallery
1 of 8
2 of 8
3 of 8
4 of 8
5 of 8
6 of 8
7 of 8
8 of 8
More money in your pocket at move-in - No security deposits!
More money in your pocket at move-in - No security deposits!
Got It
Go to top
Front desk options
Email Us
Call Us
Contact Us
Call Us
Phone Number
+1 518-900-7826
Monday:
9 AM
to
- 5 PM
Tuesday:
9 AM
to
- 5 PM
Wednesday:
9 AM
to
- 5 PM
Thursday:
9 AM
to
- 5 PM
Friday:
9 AM
to
- 5 PM
Saturday:
10 AM
to
- 4 PM
Sunday:
11 AM
to
- 4 PM
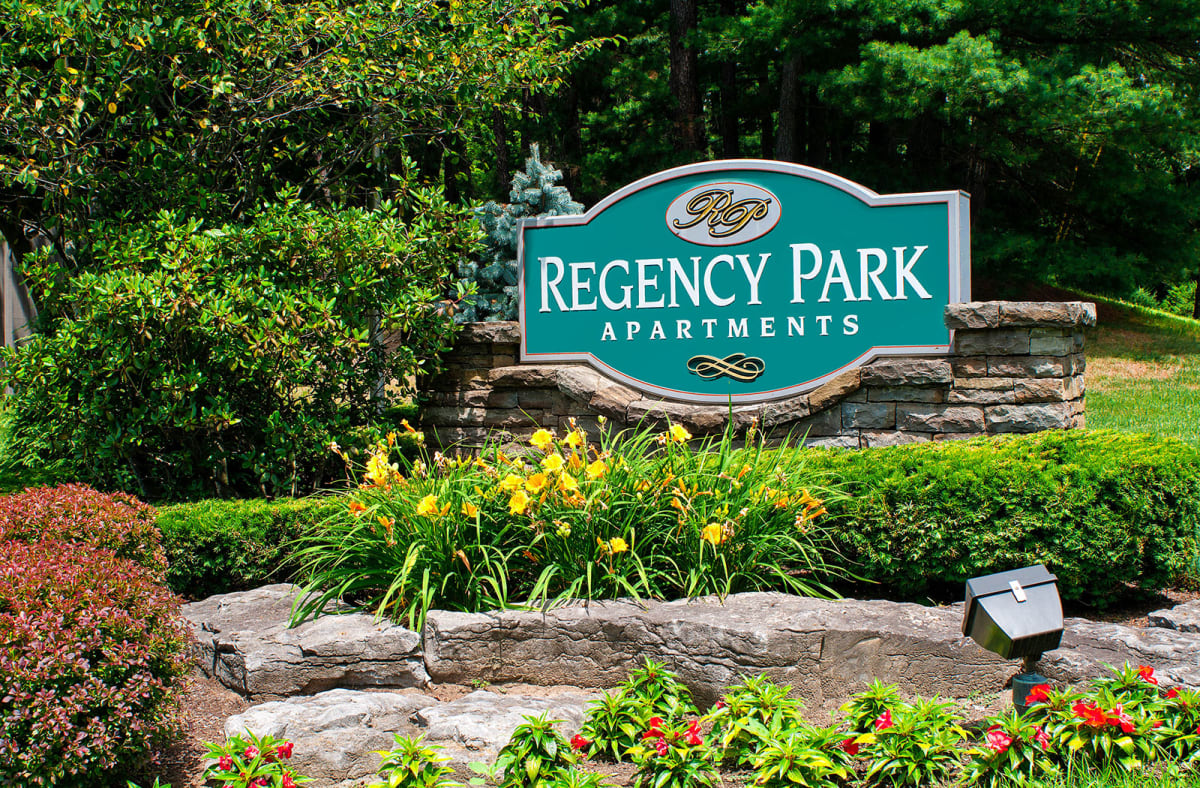
Regency Park Apartments
2120 Western Avenue
Guilderland
,
NY
12084
Opens in a new tab